Viewing two interacting dashboards
In this example you will learn how to render two Pentaho dashboards in one Angular component. The magic here is that you will make them interactive: changing one filter of the first dashboard you will change the second accordingly. The development is similar to the initial example and the only changes is on the HTML of the component.
1. Adding the dashboard3 component
To create a new component into your application, follow the same instructions described in paragraph 1 for the simpler example. Of course, replacing dashboard1 with dashboard3.
2. Developing the Dashboard3Component
Once done, it's time to develop the dashboard3 component.
2.1. Developing the HTML
Edit the dashboard3.component.html file into src/app/dashboard3 folder, as following.
<div>
  <pentaho-dashboard
    id = "dashboard3"
    pentahoPath = "/public/sample1.wcdf">
  </pentaho-dashboard>
  <pentaho-dashboard
    id = "dashboard4"
    pentahoPath = "/public/sample2.wcdf"
    [params] = "['param2']"
    masterDashboardId = "dashboard3"
    [masterDashboardParams] = "['param1']">
  </pentaho-dashboard>
</div>
2.2. Developing the Typescript
Edit the dashboard3.component.ts file into src/app/dashboard3 folder, as following.
import { Router } from '@angular/router';
import { PentahoDashboardService } from 'pentaho-dashboard';

...

  constructor(
    private router: Router,
    private pentahoDashboardService: PentahoDashboardService) {

    if (this.pentahoDashboardService.isNotLoggedIn()) {
      this.router.navigate(['/login']);
    }

  }
3. Using the dashboard3
Once done, run the npm start command from a terminal and open a browser at http://localhost:4200. Clicking on the Dashboard3 link, this is what you are going to see.
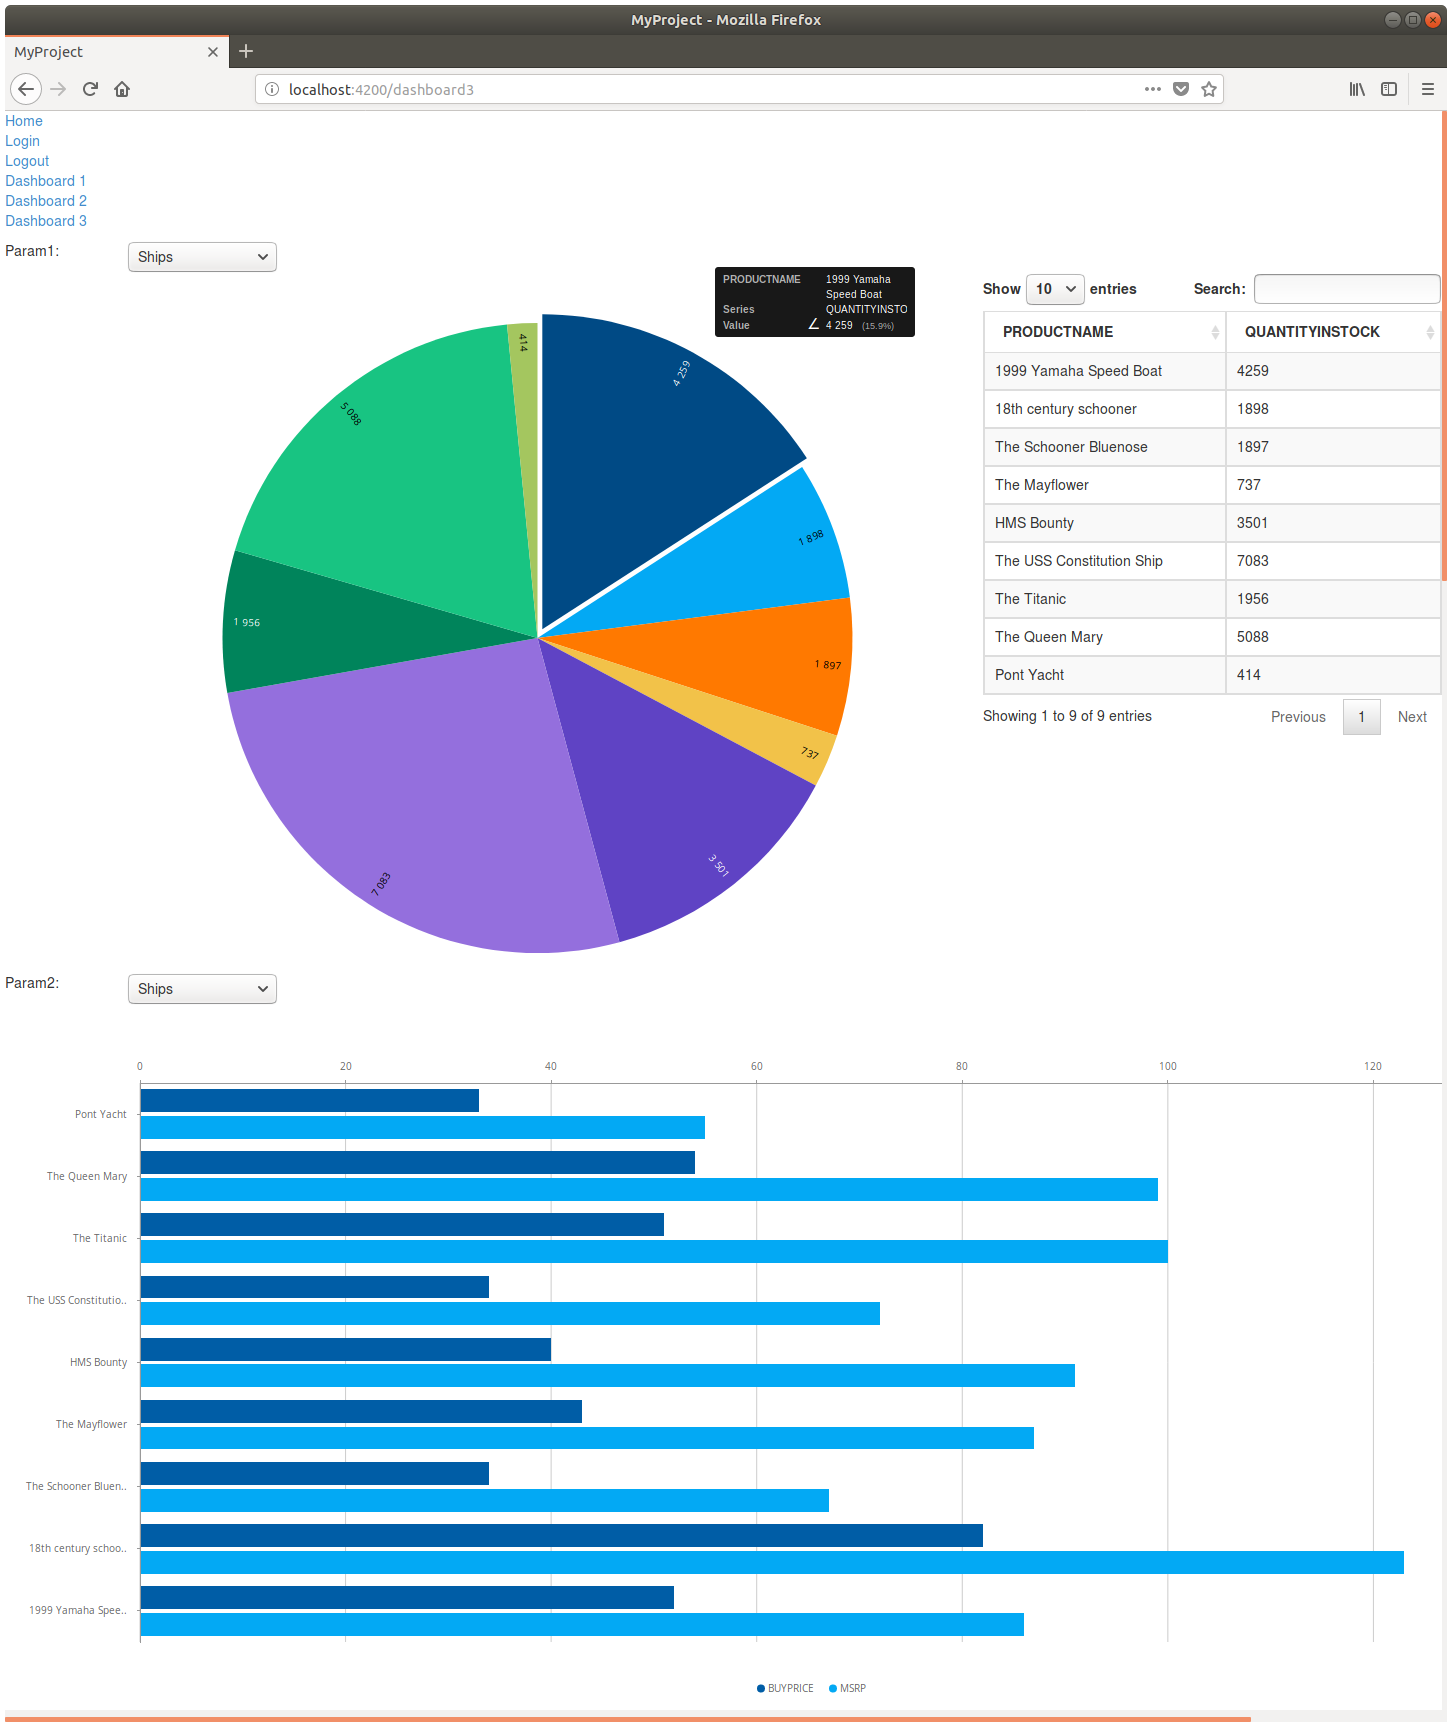
To see the interaction between the two dashboards, try to change the upper filter and you will see the two dashboards will change accordingly.
Try to change the /public/sample1.wcdf dashboard or /public/sample2.wcdfusing Pentaho and refresh this page. You will see the application will change accordingly.